Living
How to Make Taylor Swift Eras Tour Friendship Bracelets
Taylor Swift’s Eras Tour has reignited a love of friendship bracelets. It doesn’t matter how old or young you are – this is something fun and special that her fans can share with one another. Exchanging bracelets at The Eras Tour is a way to connect with other fans, so we came prepared with lots of bracelets. I remember making friendship bracelets at summer camp with my best friends, and it’s been so much fun making them with my girls. We’ve been making bracelets with our favorite Taylor Swift song titles. Whether you’re a seasoned crafter or have never made friendship bracelets, it’s a fun and easy activity for both kids and adults. I want to share the beads I used to make our Eras Tour friendship bracelets.
How to Make Taylor Swift Eras Tour Friendship Bracelets
I’m a mom that prefers crafts and activities to playing pretend. From drawing with gel pens to coloring and now, making friendship bracelets. It feels so nostalgic making these memories and having these experiences with my girls.
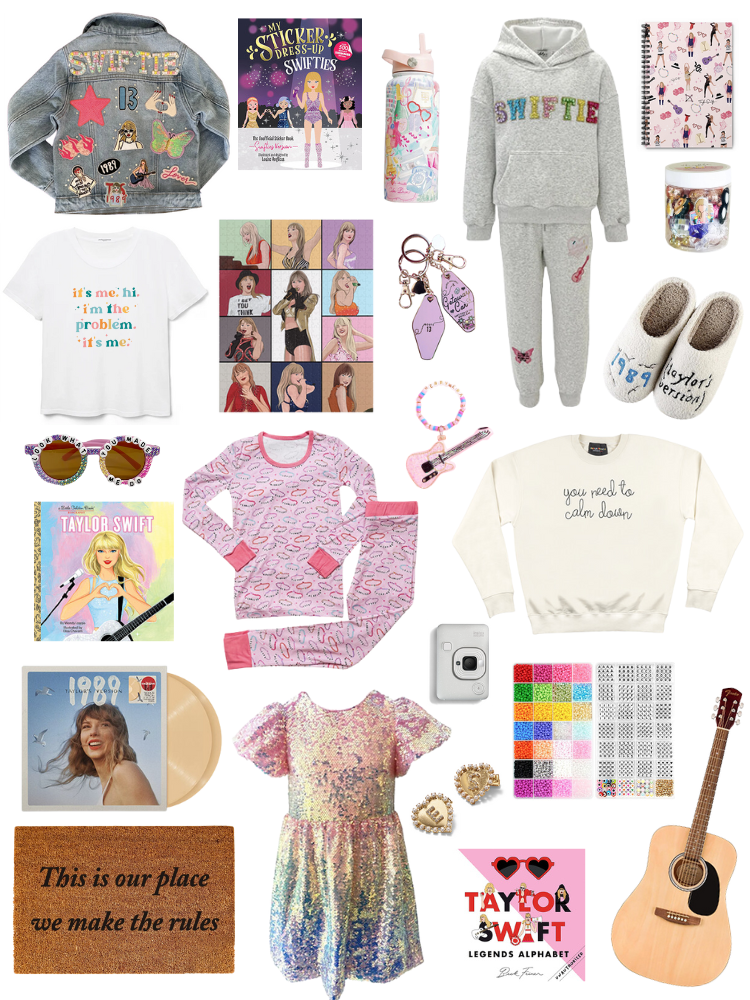
The Best Gifts for Taylor Swift Fans
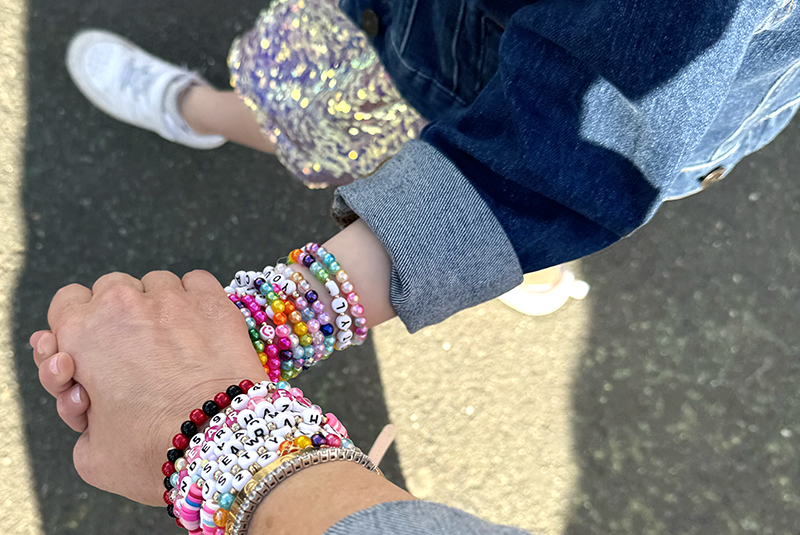
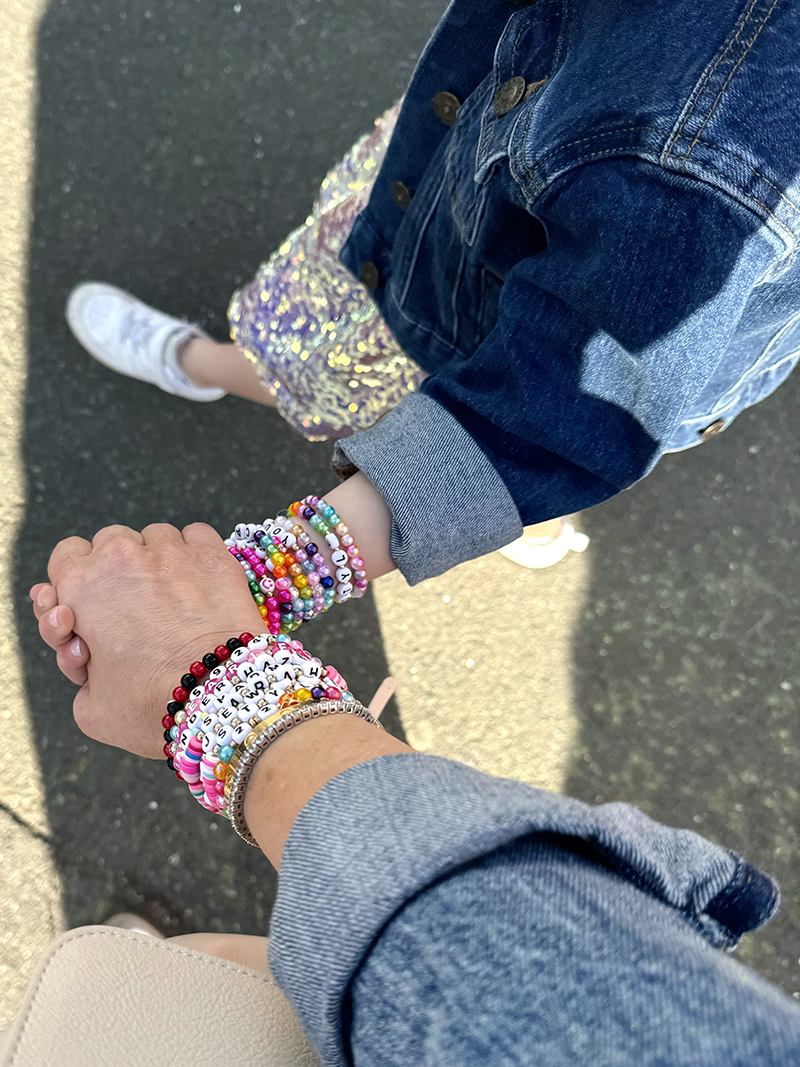
When my sister found out my daughter and I were going to The Eras Tour, she started making bracelets for her niece. I loved her beads so much that I bought them and ended up making some more. One of the joys of making Taylor Swift Eras Tour friendship bracelets is sharing them with others. These bracelets make a great gift for new friends you meet at concerts or for your best friends who share your love for Taylor Swift. She has the best fans! I took my 5 year-old to The Eras Tour, and she left with bracelets up to her elbows. Everyone wanted to give bracelets to the little girl in the sparkly dress. It was so sweet!


Friendship Bracelets: Materials and Tools
Before diving into the process, there are a few things you’ll want to buy. I should also mention that we love these beads and bracelet making so much that we made little bead kids for Margot’s upcoming Eras Tour birthday party. I shared a video on social media. Here’s a list of items you’ll need to make your own Taylor Swift Friendship bracelets.
Elastic String
You are going to want to use a very stretchy string. This is the primary material for most friendship bracelets. It comes in many different colors of thread, allowing for endless creativity. Do not use embroidery floss – it will be impossible to get your bracelet on and off.
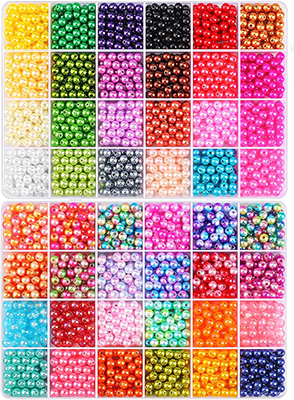
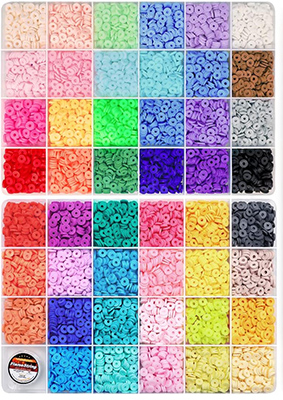
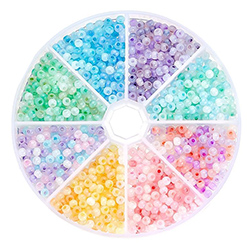
Beads for Friendship Bracelets
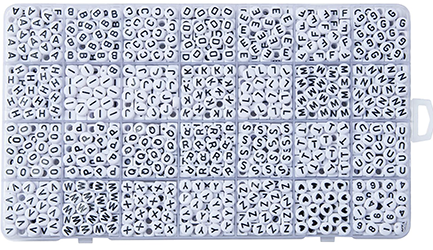
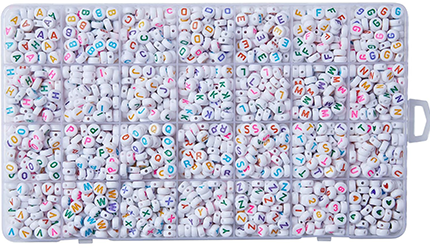
These are my favorite beads, and the ones we used for most of our Taylor Swift bracelets. I love classic pearl beads, too. If you’re making bracelets with a child 3 or under, try pony beads since they’re a bit larger and easier to string. You’ll want a pack of letter beads, too. These are perfect for personalizing your bracelets with names, song titles, or meaningful words.
Friendship Bracelet Maker
I do not have a bead spinner, but it looks pretty cool if you’re making a bunch of friendship bracelets.
Scissors
Essential for cutting the threads to the desired length.
Tape or a clipboard
To secure your bracelet while you work on it.
Measuring and Cutting the Thread
The first step in making any friendship bracelet is to measure and cut your string. For a standard bracelet, you’ll need about 60 inches of thread. If you’re using multiple colors, cut each color to the same length. Remember, the thread can be adjusted to fit any wrist size by adding or removing knots.
Knotting Your Friendship Bracelets
Mastering a few basic knots is crucial for creating fun friendship bracelets. The most common knot used in friendship bracelets is the forward knot. There are a few different ways to knot your bracelet.
Forward Knot: Take the left thread and create a 4-shape over the right thread. Loop the left thread under the right and pull through the loop. Pull tight to form a knot.
Backward Knot: The opposite of the forward knot, you create a backward 4-shape and loop the right thread under the left.

Adding Beads to Your Friendship Bracelets
To make your bracelets stand out, incorporate beads in the middle of the bracelet or throughout the design. Once you’ve reached the desired length, it’s time to finish your bracelet. Tie a simple knot at the end and trim any excess thread. If you’re making the bracelet as a gift, consider adding a clasp for a more polished finish.
Making bracelets for The Eras Tour is more than just a crafting activity. It’s a rite of passage for fans, and makes the experience that much more fun. It’s a great way to bond with fellow Swifties, too. Whether you’re exchanging bracelets at a concert or giving them as gifts, these handmade tokens are a symbol of friendship and fandom. So, gather your materials, choose your favorite patterns, and start crafting your way to beautiful and meaningful friendship bracelets.
This blog post contains affiliate links. If you purchase something using my links, I may earn a small commission at no cost to you.