Holiday
How to Hang Garland


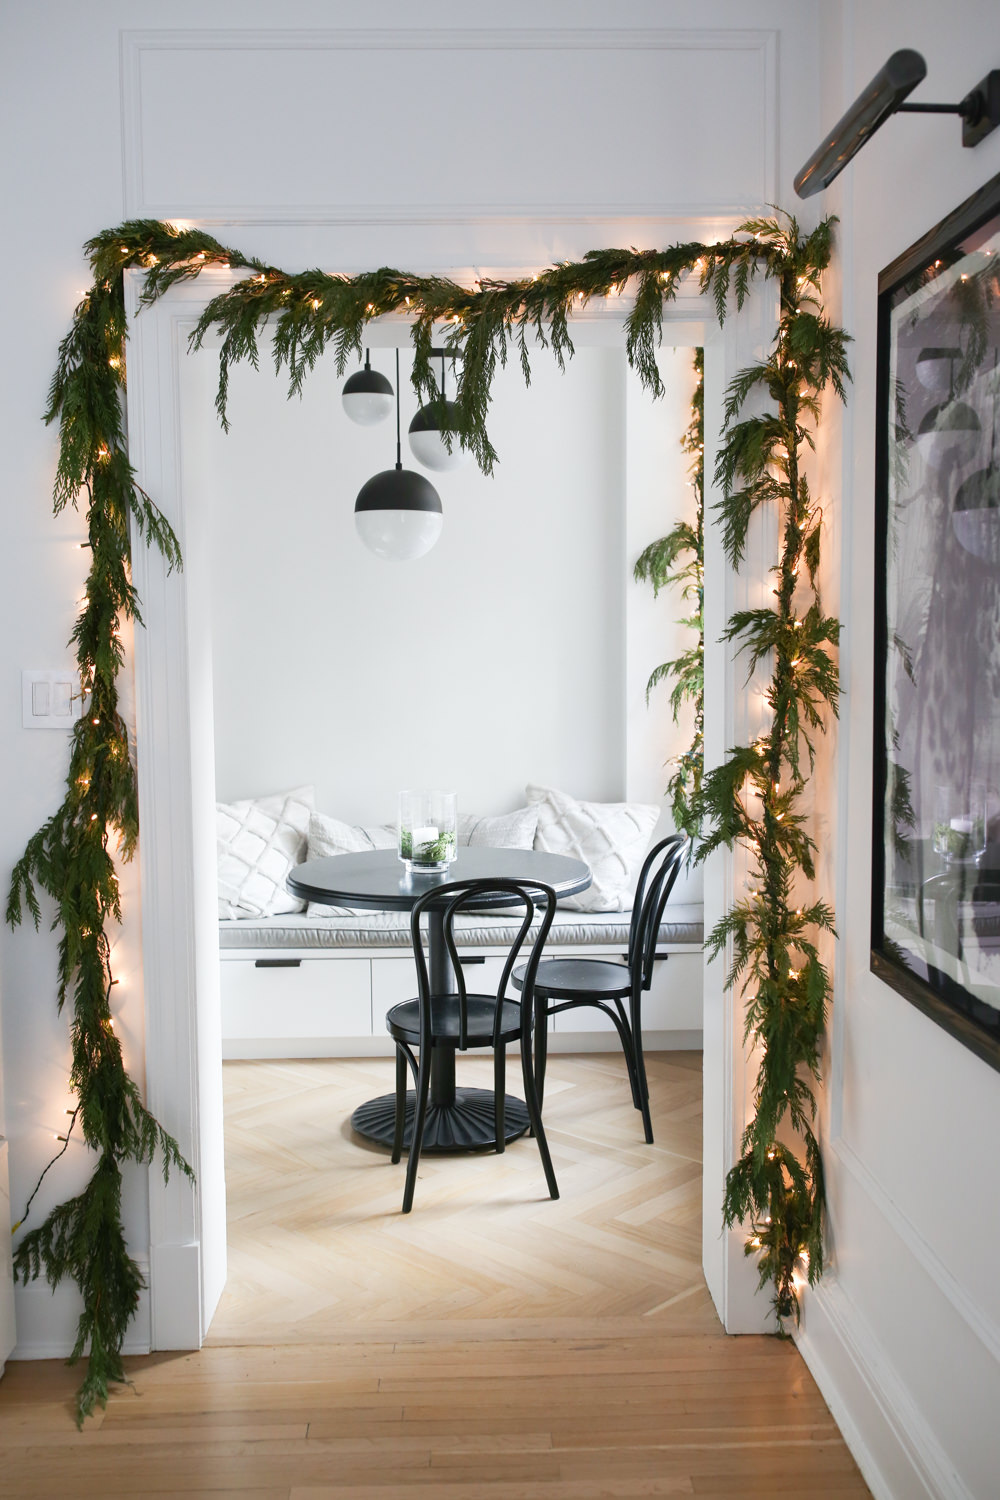
All my Christmas decor dreams came true this year when I finally hung garland around my door frames. It was my first time and I didn’t really know what I was doing, so when Conor’s mom offered to help, I knew I had to go for it. I posted this photo last weekend and go so many messages asking what kind of garland and lights I used, and how I installed it, so I decided to share a tutorial (keep in mind my DIY abilities are limited so hopefully this helps!). Here’s how to hang garland.
How to Hang Garland
This took some time but it was really easy. If I can do it, anyone can.
Here’s what you need
- 20′ strand of real cedar garland (1 per doorway). I got mine at Home Depot (not available online but it’s in store) – for $16.98 each.
- 1.5 inch finishing nails
- Floral wire to tie any loose garland pieces together and to tie to nails (if needed). We used maybe 2-3 pieces total.
- hammer
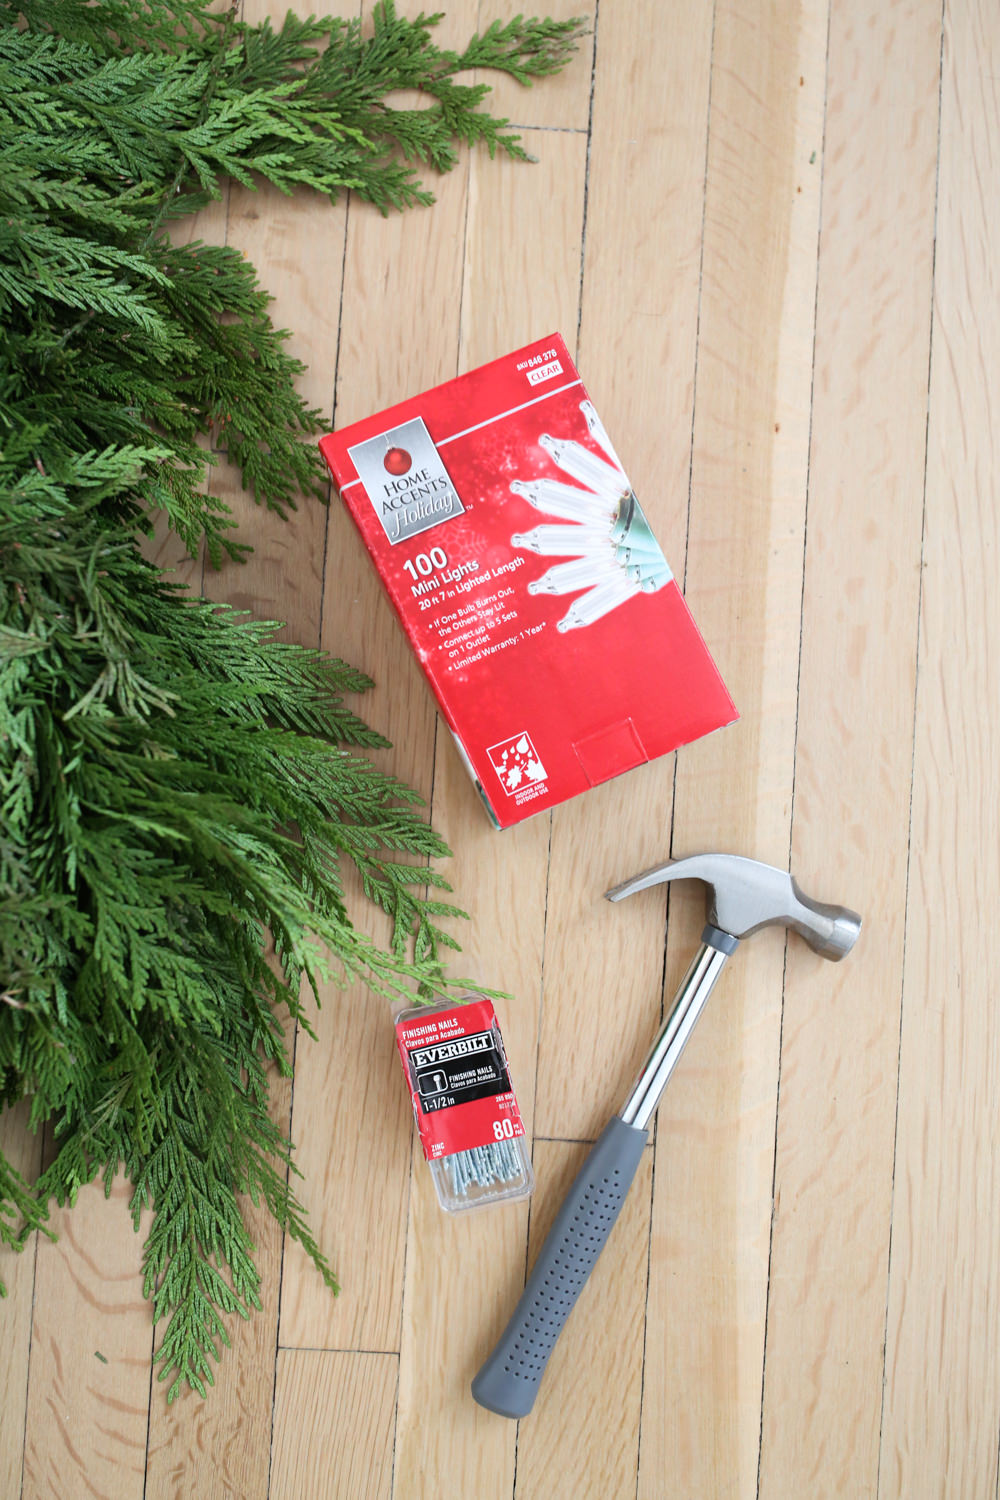
We used 3 1.5 inch nails in each door frame. Put one in each corner of the frame and one in the middle. Hang the garland, making sure it falls where you want it to (mine went to the ground) and cut any extra garland.
The garland hanging hack I finally applied here
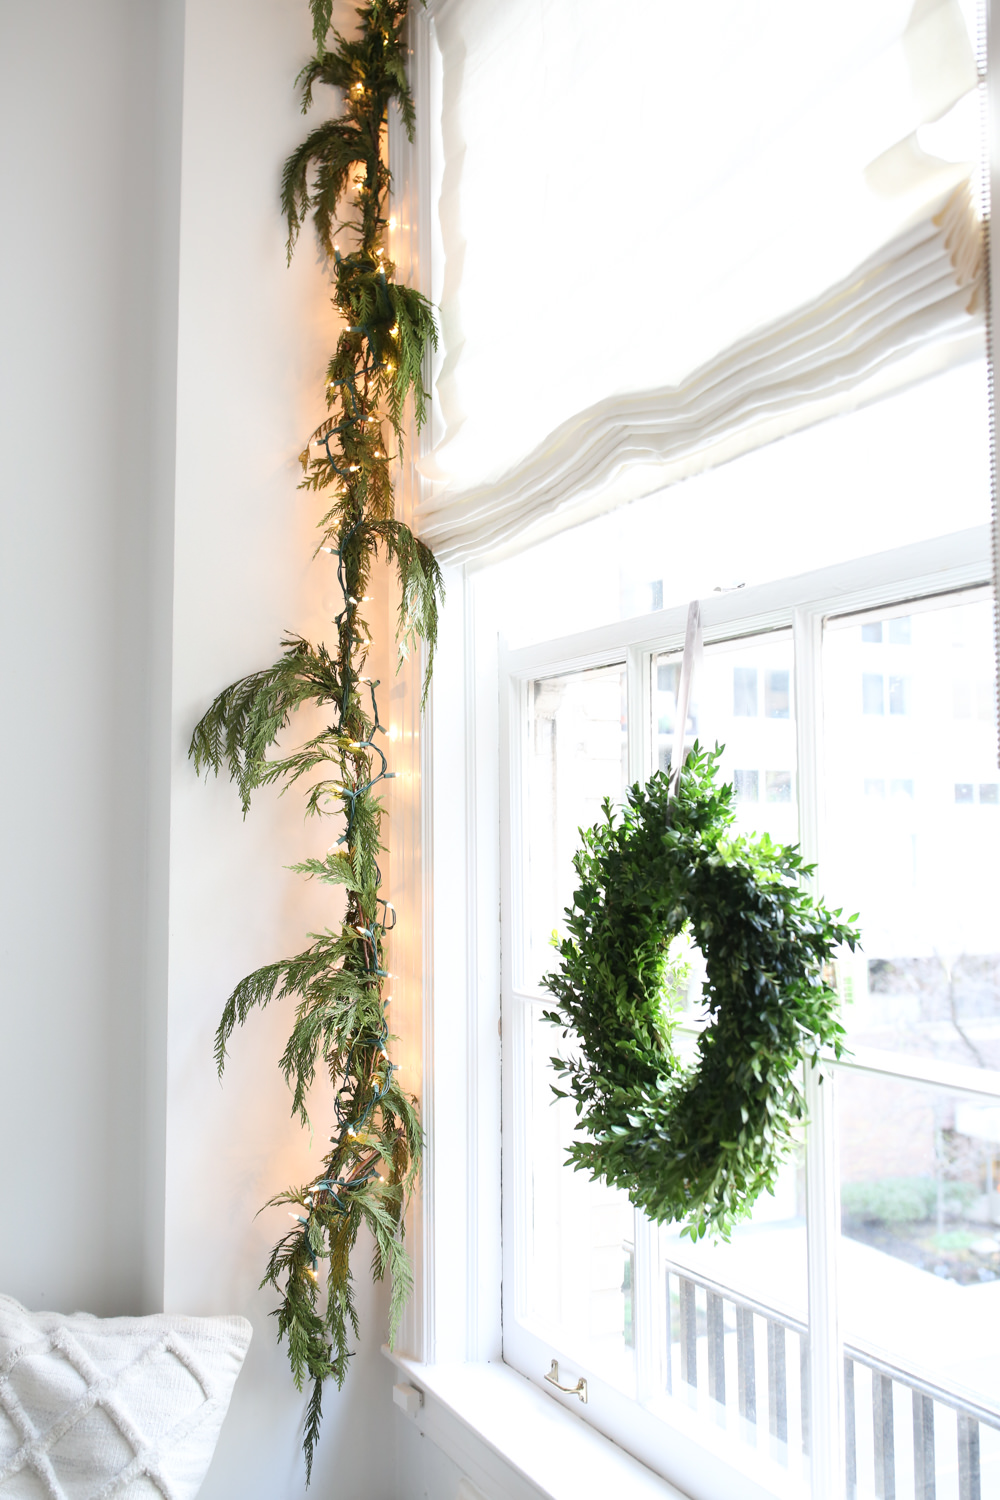
If you look at these photos, you can see that the garland only falls the right way on the right side above and left side below. If you cut it in half, flip, and tie it back together with wire, it will fall the right way on both sides.
I didn’t get a photo of this step, but wrap a 100 light strand starting at one of the ends of the garland. Common sense thing I’ve definitely screwed up in life (but shockingly didn’t mess up this time) – make sure the plug ends on the right side near an outlet!
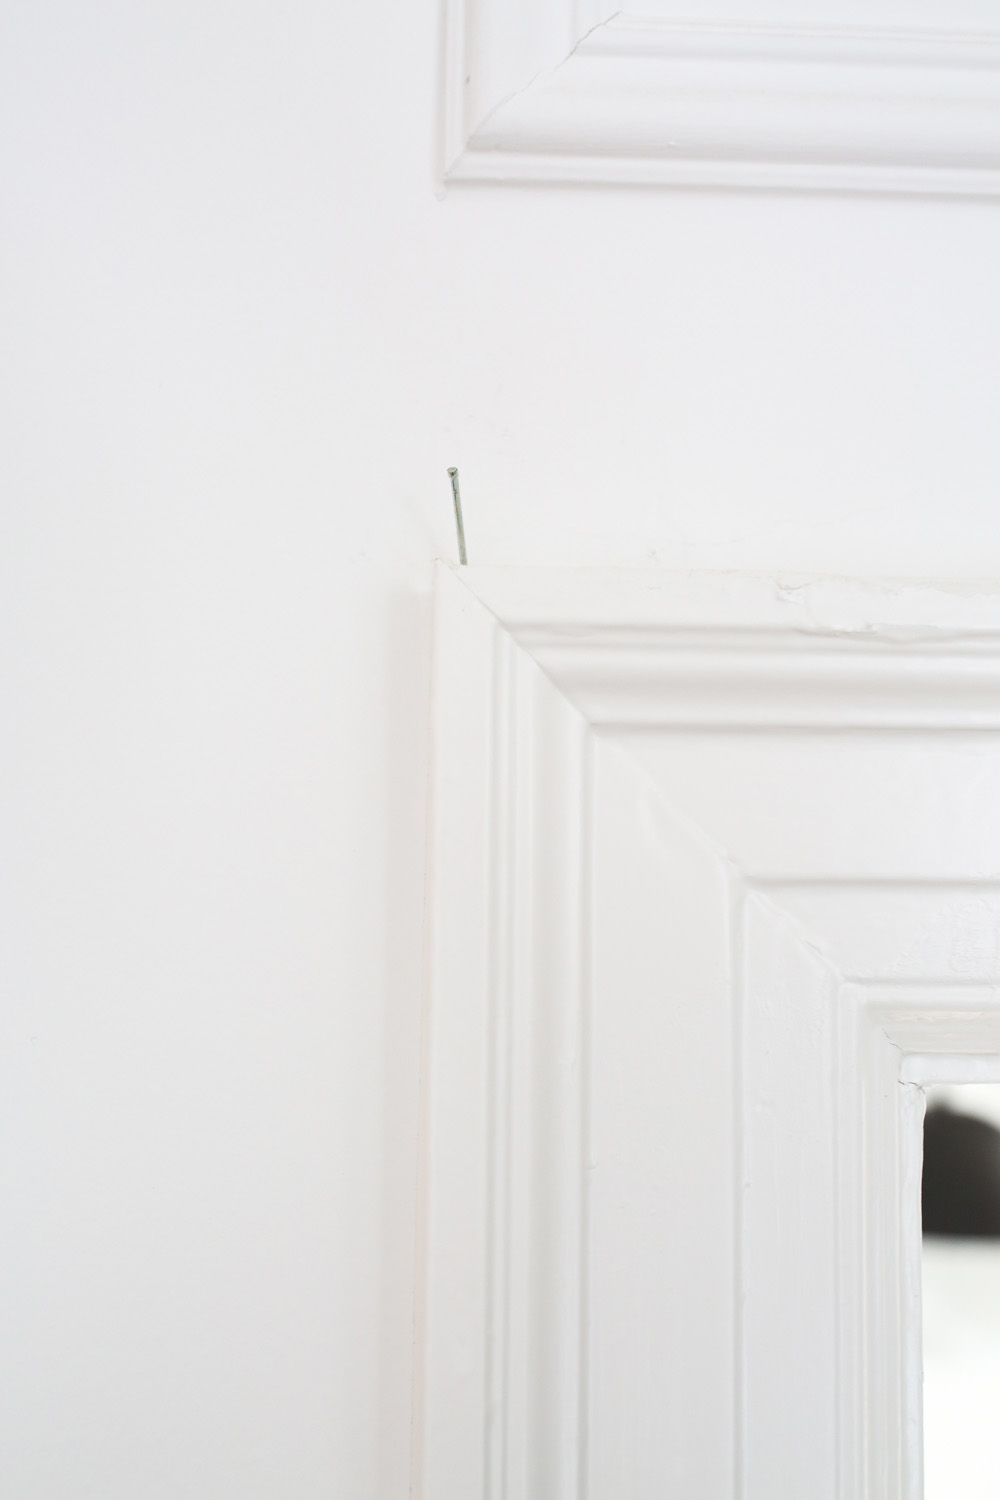
Then hang the garland on the nails. If you have any issues keeping it up or see any loose sections of the garland, wrap wire around the garland.
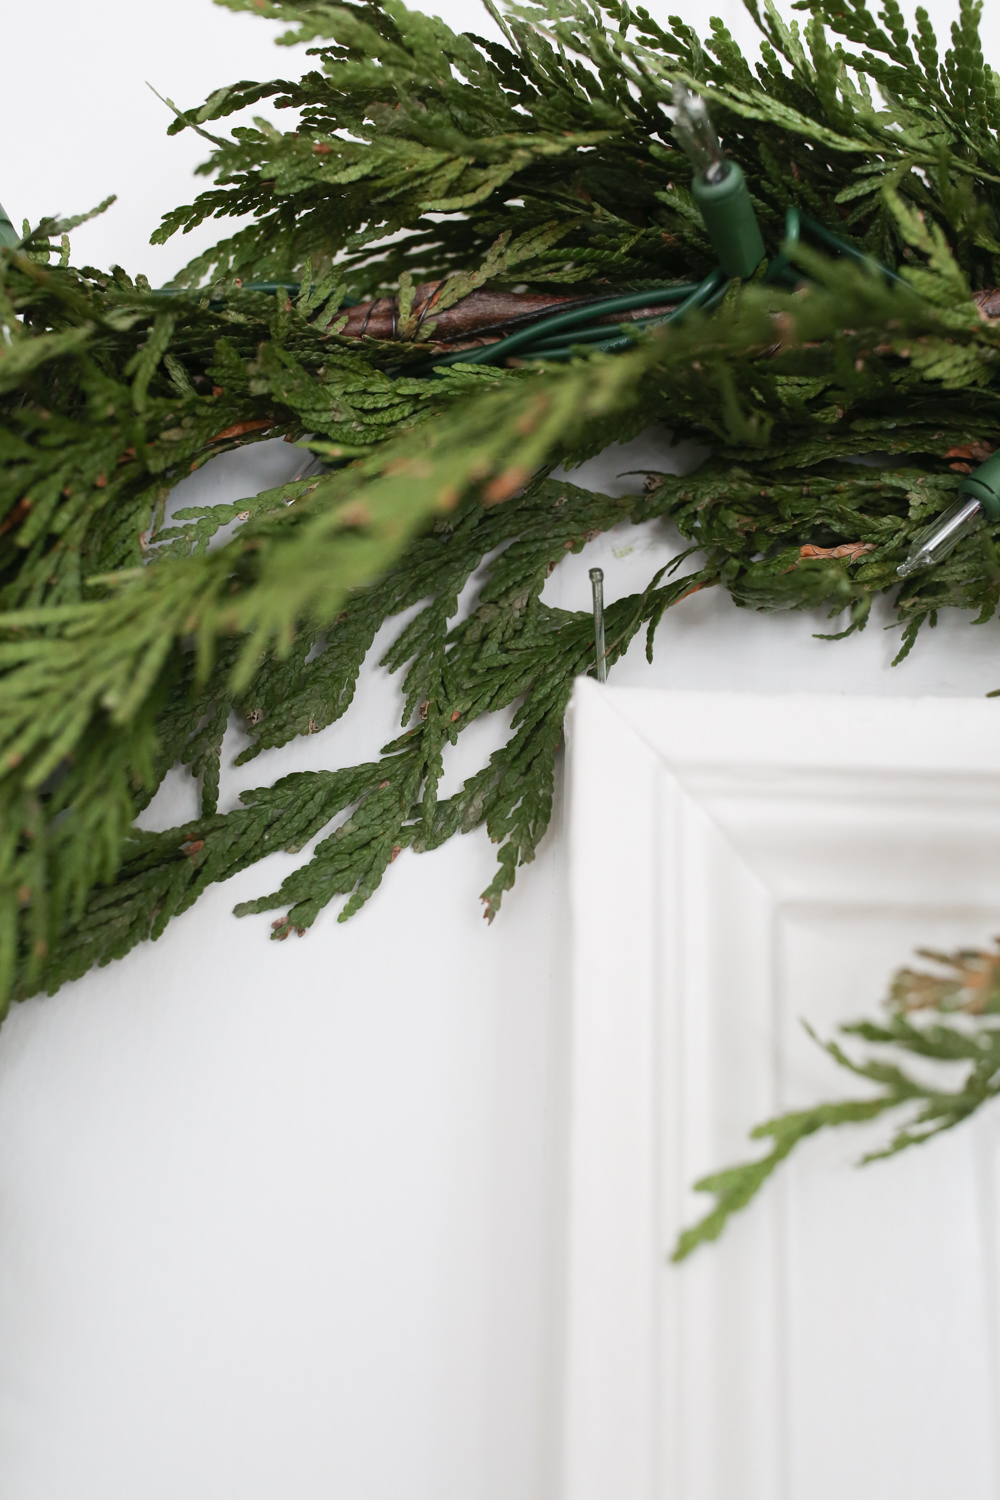
Plug in and voila. Easy, right?
